
The complete guide
The Practical Guide to Sealing a Washing Machine Drain
The leak nobody notices until it matters
Washing machine leaks have a reputation for being dramatic. Burst hose, flooded floor, frantic mopping. In reality, most laundry water damage happens slowly and silently, and it starts in the same place: the ring of open space where the drain hose drops into the standpipe or floor drain.
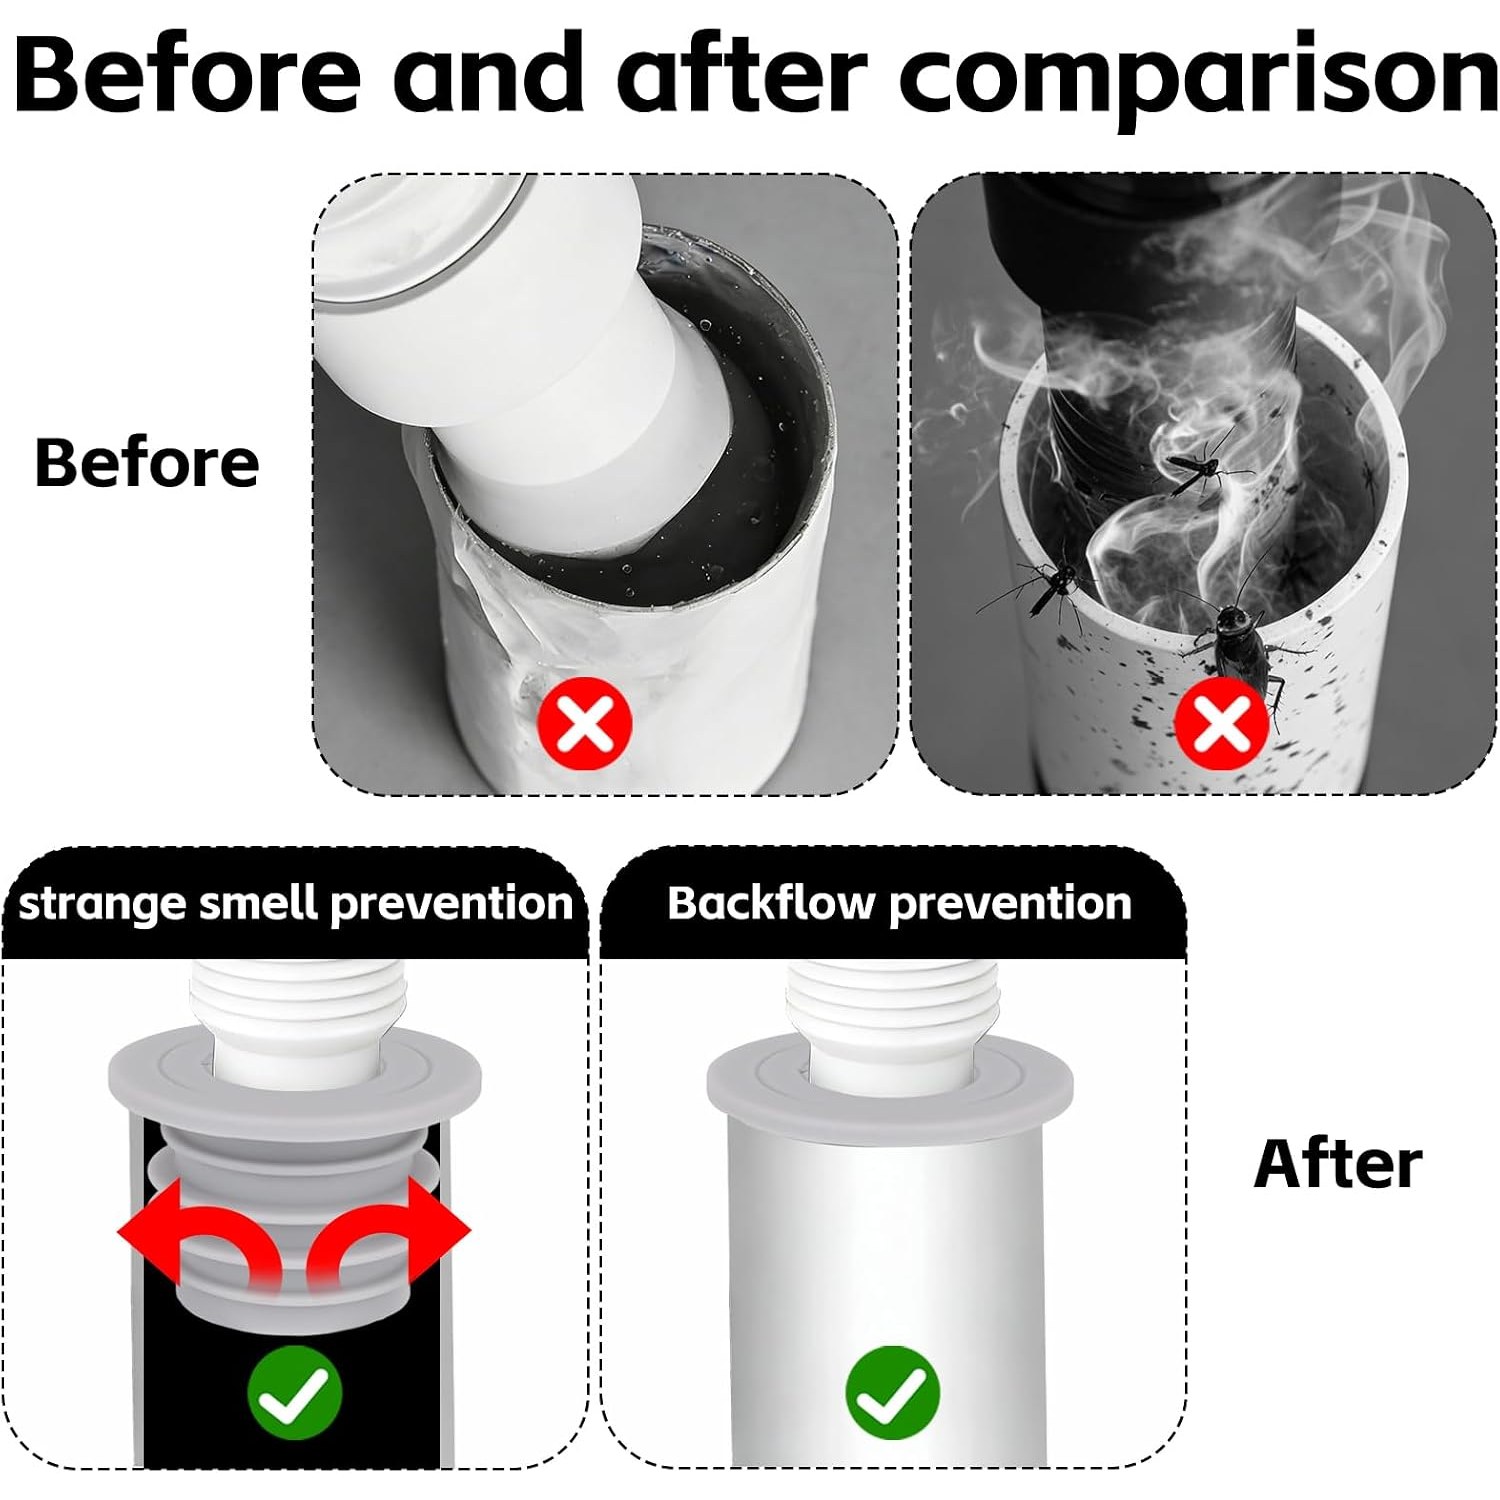
Here is what happens. Your machine's pump pushes water out hard and fast at the end of a cycle. That water hits a pipe that is often narrower, higher or more blocked than the designers assumed. Pressure builds, and a small amount of water rides back up the outside of the hose and over the lip of the pipe. One cycle, it is a teaspoon. Over a year of three washes a week, it is enough to stain a floor, lift a skirting board or feed a patch of mould behind the machine.
The same gap does a second thing. It gives drain air a direct route into your laundry. If the room has a persistent musty or sulphur smell that no amount of cleaning fixes, an open drain gap is often the reason.
A washing machine drain seal closes that gap. It is one of the least expensive fixes in the house and one of the few that takes under a minute.
How a silicone drain seal works
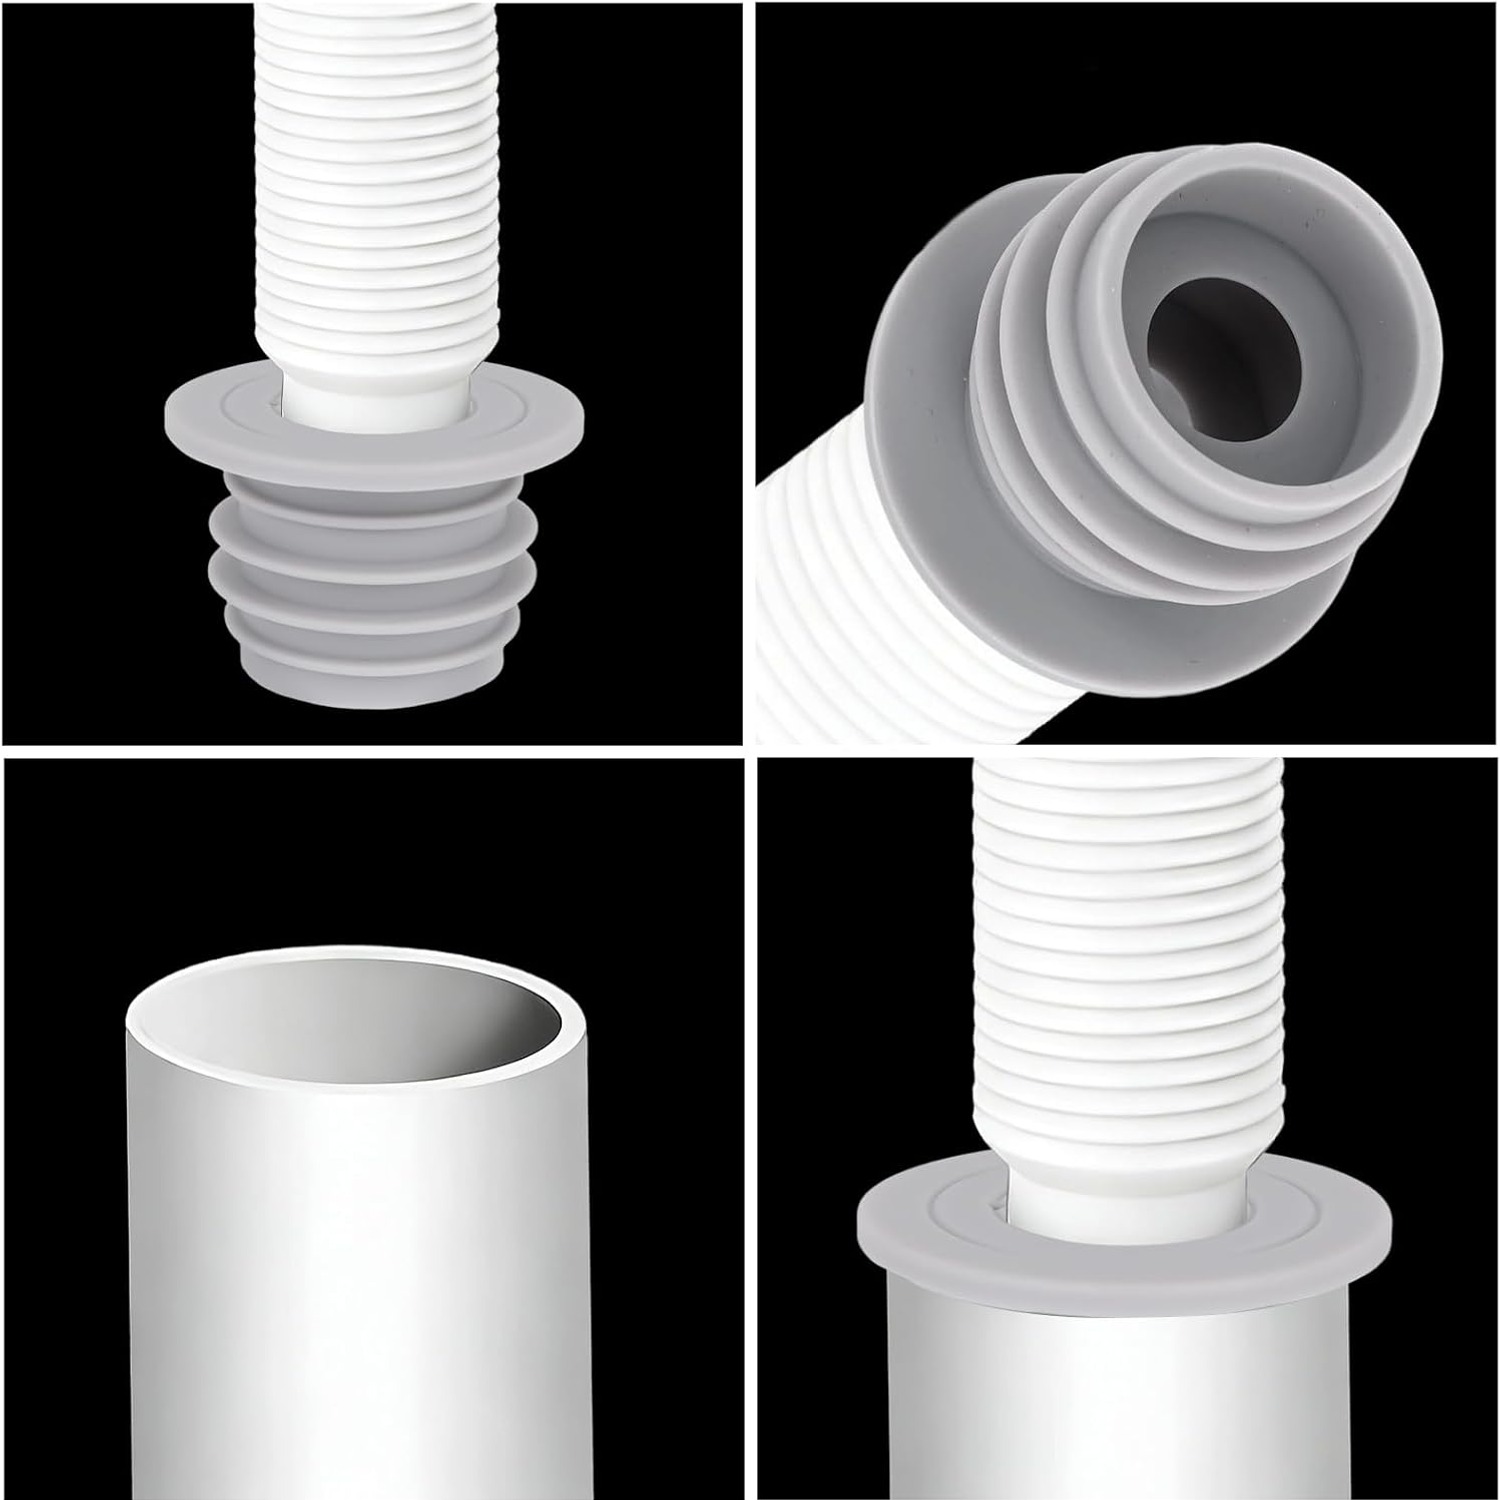
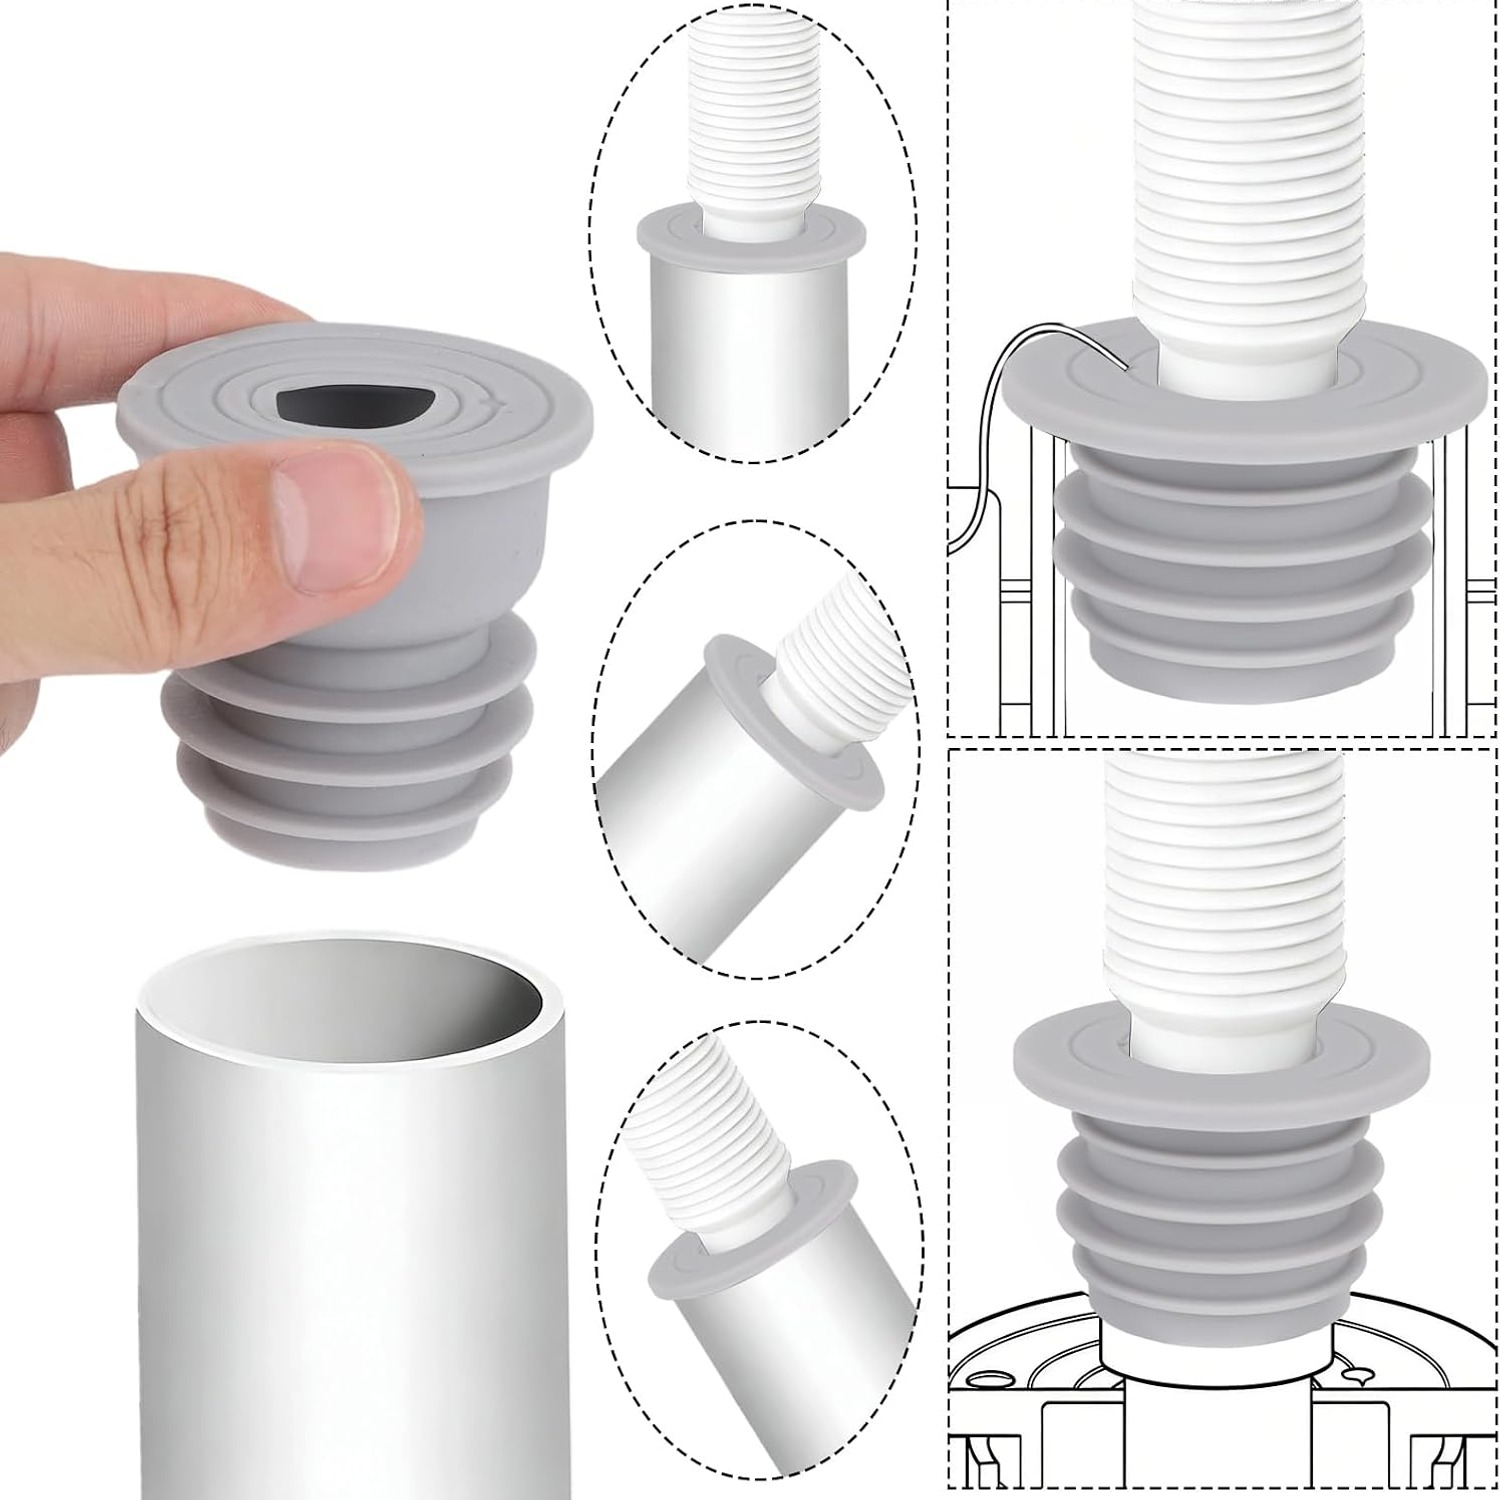
The idea is simple. The seal is a flexible collar that fits around the outside of the drain hose and presses against the inside wall of the pipe. Instead of a loose hose rattling in a wide opening, you get a hose that is wrapped and wedged.
Silicone is the right material for the job for two reasons. First, it stays soft. A drain seal lives through hot wash water, cold rinse water and dry periods between loads, which is a punishing cycle for rigid plastic. Silicone keeps its give so it can keep conforming to the pipe surface. Second, it grips. The slight tackiness of silicone against a smooth hose means the seal does not slide around every time the machine vibrates through a spin.
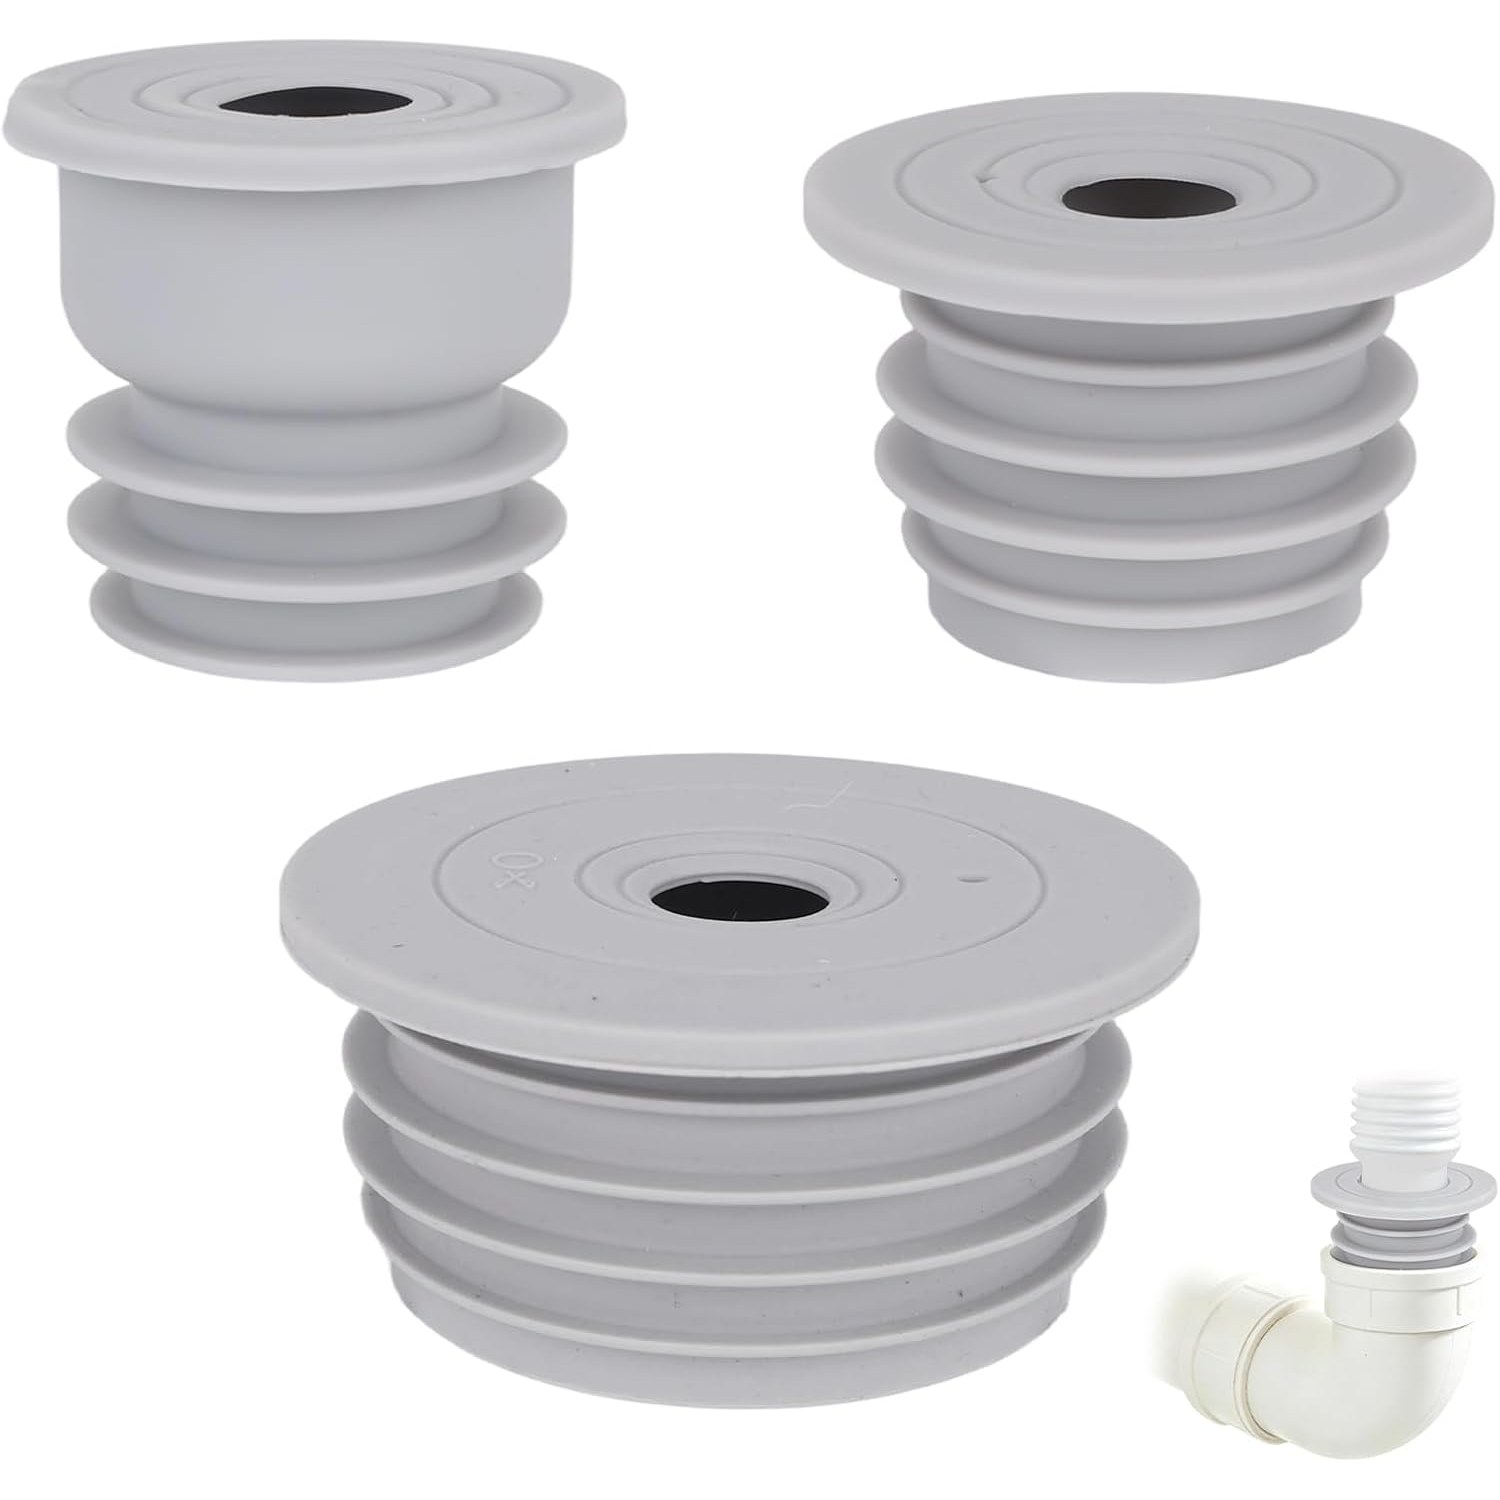
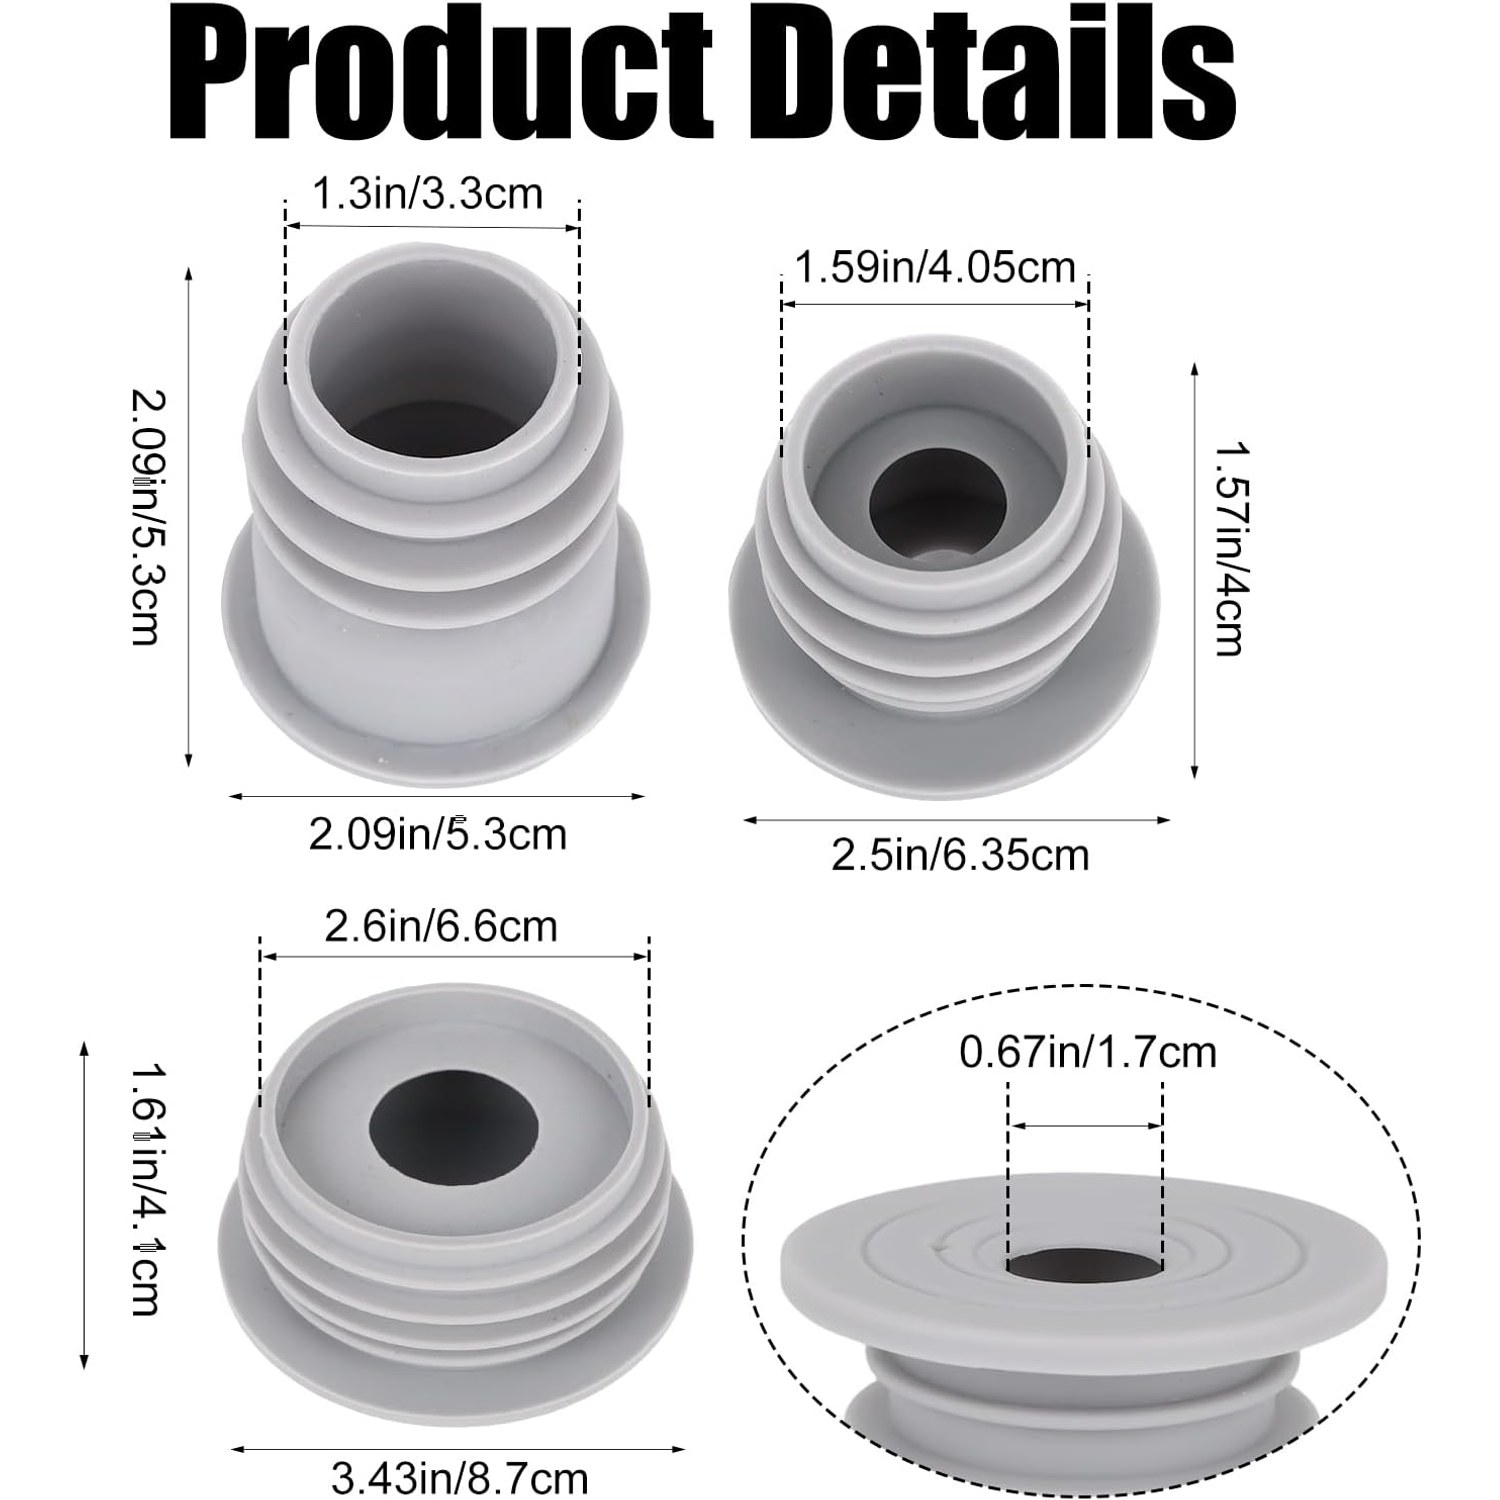
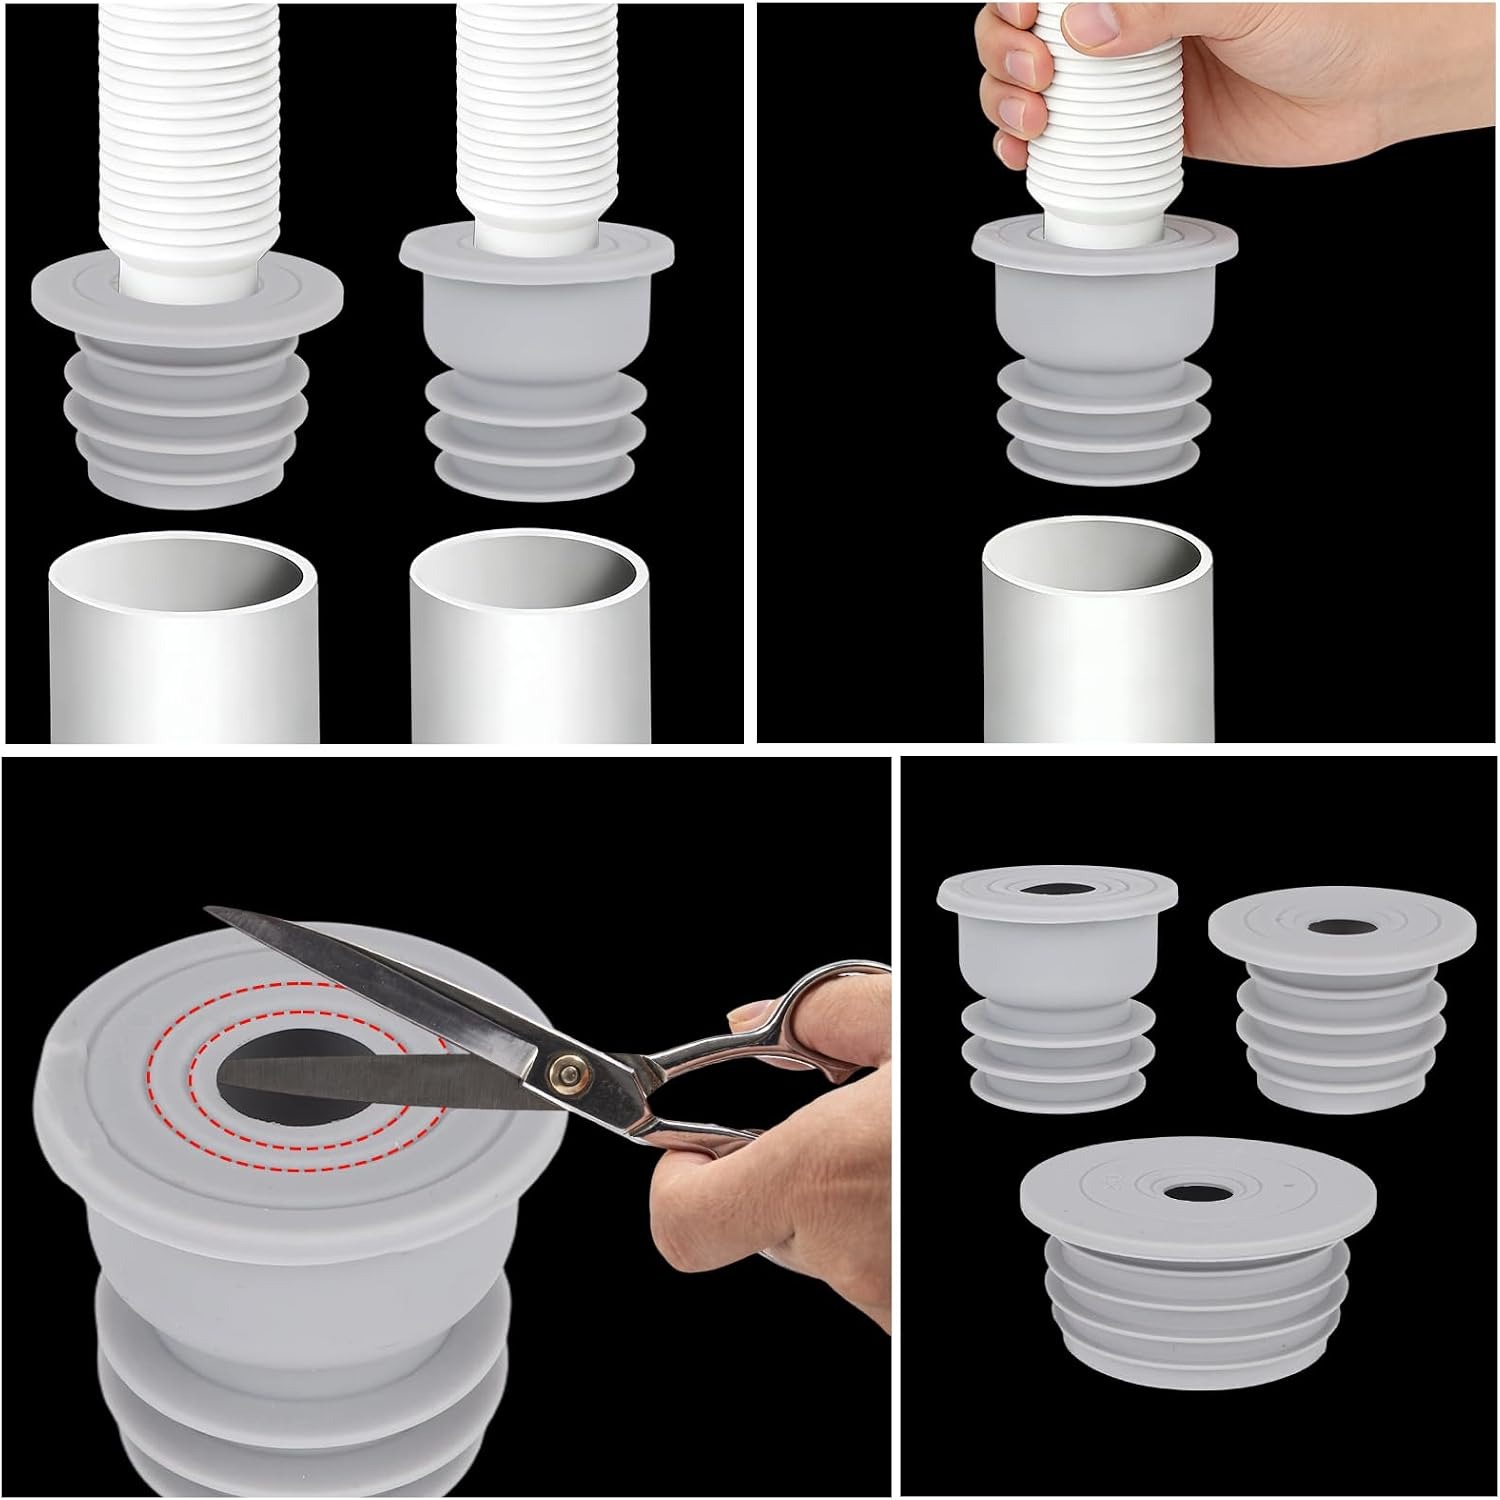
This pack includes three seals in different sizes. That is not padding, it is a practical response to the fact that drain hoses and standpipes vary. A machine bought in one decade will not necessarily share dimensions with a drain installed in another. Having three options means you fit the one that seats properly rather than forcing the only one in the box.
The seals are grey, weigh 58 grams for the set, and are described by the maker as anti-clogging. That last term refers to how a close collar stops lint and detergent sludge from collecting in the open ring of space where it would otherwise gather.
Who this suits
Renters get a lot of value here, because nothing permanent happens. There is no glue, no tape residue, no drilling. The seal goes on, it works, and when you move you pull it off and take it with you. Landlords and agents have no grounds to object because the plumbing is untouched.
Anyone with a laundry in a living space benefits too. Apartment laundries, laundry cupboards off a hallway and kitchen-integrated washers all share a problem: the drain is close to where people live, so smells and damp are noticed quickly. Closing the drain gap is the easiest way to buy back some air quality.
It also suits people troubleshooting a damp patch. If you have found water behind the machine but cannot see a split hose or a dripping connection, splashback from the drain is the next suspect. Fitting a seal costs very little and either solves the problem or rules it out, which narrows the search.
The one group it does not suit is anyone with a genuine plumbing fault. If your standpipe backs up and overflows because the drain line is blocked, a seal will not help, and it may make the overflow harder to spot early. Clear the blockage first.
Choosing the right size
Two measurements matter. The outer diameter of your drain hose, and the inner diameter of the pipe or drain opening it goes into.
Measure the hose first, right near the end where the seal will sit. A tape measure across the widest point is accurate enough. Then measure the pipe opening the same way. You are looking for a seal that hugs the hose and leaves no visible daylight at the pipe rim.
A correct fit feels slightly firm going in. You should have to push, but not fight. If the seal slides in with no resistance at all, water can still track past it. If you have to force it hard enough to deform the seal badly, it will try to push itself back out over time.
Do not stack two seals to make up a difference. Layered silicone creates seams, and water follows seams. One correctly sized seal beats two wrong ones every time.
Fitting it in practice
Pull the machine out far enough to see what you are doing. Run a quick drain or spin first if there is standing water in the hose, so you are not working with a hose that dribbles.
Slide the seal down the hose until it sits near the end, leaving enough hose beyond it to go properly into the pipe. Push the hose and seal down into the opening together until the collar is firmly against the pipe. Give the hose a gentle tug upward to check it stays put.
Make sure the hose still rises to the correct height before it drops into the drain. Most machines need that loop or high point to stop the drain siphoning water out of the drum mid-cycle. A seal does not change that requirement.
Then run a short wash and look. Watch the drain point during the spin, when pressure is highest. If nothing comes over the rim and the gap is covered, you are done.
Keeping it working
Maintenance is minimal but worth doing. Lint, fabric softener residue and detergent film build up on the inside of the collar over months. That layer makes the seal slippery and less effective at gripping.
Every few months, or whenever you move the machine for cleaning, lift the seal off and wash it in the sink with warm water and dish soap. Rub the inner edge with your fingers or a soft cloth to clear the film, rinse it well, dry it and put it back on. Skip bleach, solvents and scourers. They shorten the life of silicone for no real benefit.
While you have the machine out, check the hose itself for kinks or splits and glance at the floor for any staining you missed. A seal does its job better when the rest of the setup is sound.
One more check: machines walk. Vibration over months can nudge a seal up the hose by a centimetre or two. A quick look and a push back down is all it takes.
The short version
An open gap around a washing machine drain hose causes two slow problems, splashback that damages floors and drain air that makes a room smell. A silicone collar closes the gap and solves both.
This pack gives you three sizes, so you can match your hose rather than compromise. Fitting needs no tools and takes under a minute once the machine is accessible. The seals wash clean and go back on, so a single pack covers years of laundry and comes with you if you move.
Measure your hose and your pipe, pick the seal that seats firmly, run one wash and watch it. If the rim stays dry, the job is finished.